
To configure a webhook, set an endpoint where Heropa will send event data. The endpoint should be a publicly accessible URL capable of processing webhook payloads.
Add a Webhook
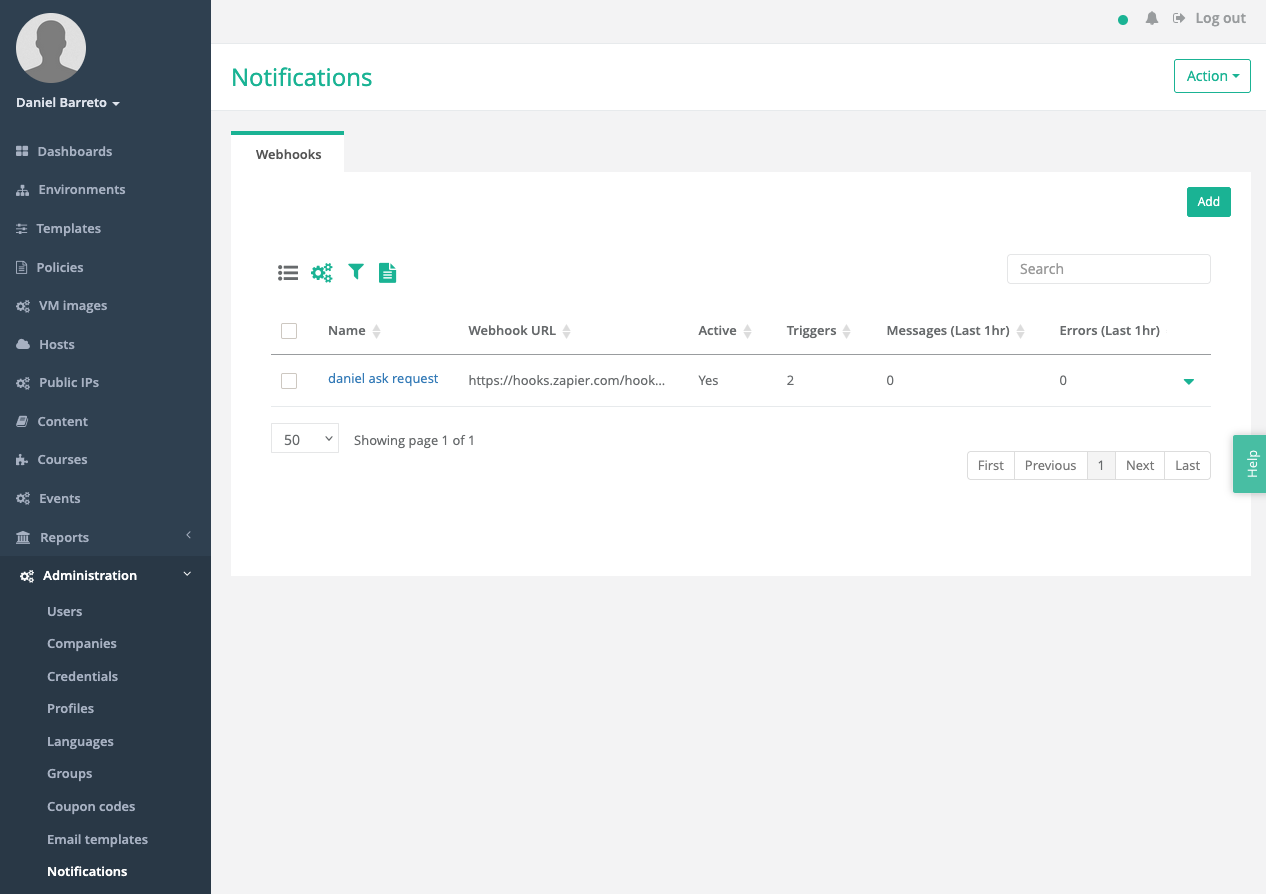
1. Navigate to Administration → Notifications → Webhooks tab
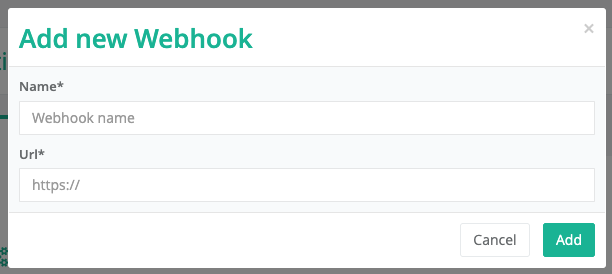
2. Click Add and enter the Name and Url that will receive webhook data.
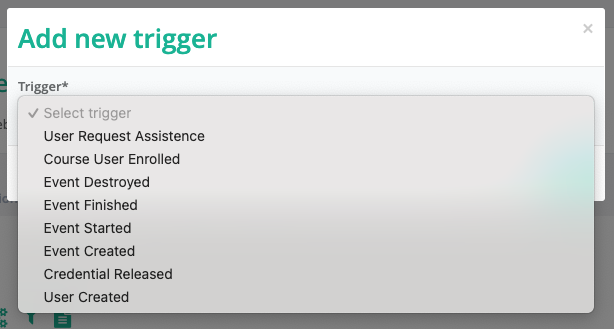
3. Go to the Triggers tab, click Add and Select the triggers you want to trigger the webhook.
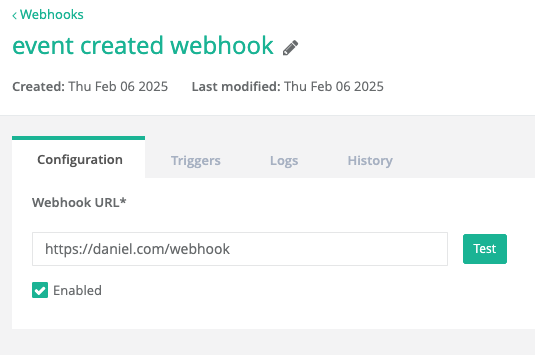
4. Go to the Configuration Tab, check the Enabled option and click Save to settings and activate the webhook.
Edit a Webhook
1. Navigate to Administration → Notifications → Webhooks tab.
2. Select the webhook to edit.
3. In Configuration tab, you can change the:
- Name
- Webhook URL
- Enabled
4. In Triggers tab, you can manage the triggers that will sending the payload to the webhook url.
5. Apply changes and click Save.
Delete a Webhook
1. Navigate to Administration → Notifications → Webhooks tab.
2. Select the webhook URL to delete.
3. At the far right of the webhook's row, click the display actions icon (represented by Downward-Pointing Arrow).
 4. Select Delete and confirm deletion.
Test a Webhook
1. Navigate to Administration → Notifications → Webhooks tab.
2. Select the webhook to test.
3. Click Test.
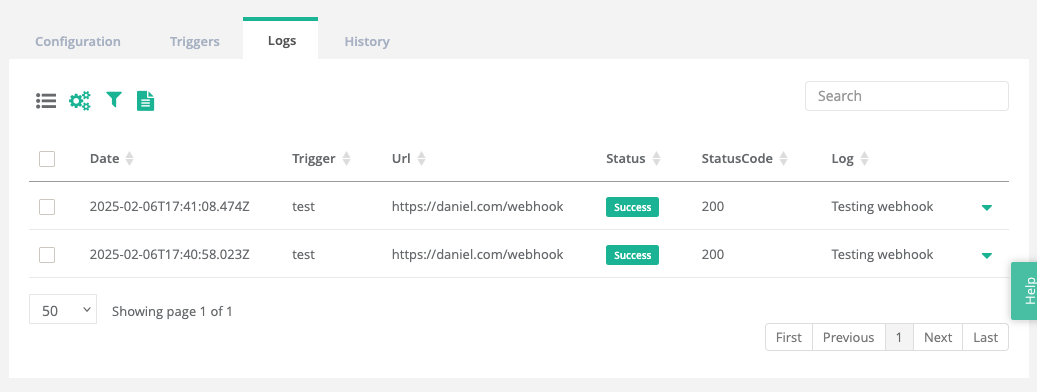
4. See the result in Logs Tab
Developer documentation
Managing webhooks via API
To review how to create and manage Heropa webhooks via API, please review the webhook developer documentation: https://developers.heropa.com/docs/webhooks#configure-the-webhooks-using-heropa-public-api
Webhook Events and Payloads
For documentation on supported trigger events and the payloads that you can expect to receive, please review the webhook developer documentation: https://developers.heropa.com/docs/webhooks#webhook-events-and-payloads
Comments
0 comments
Please sign in to leave a comment.